Tines Webhook
Overview
Steps for using the Sublime webhook action to integrate with Tines
Requirements
- Tines Administrator permissions
- Sublime Administrator permissions
Installation
At a high level we will be:
- In Tines, adding a
Webhookto aStory - In Sublime, adding an
Actionof aWebhookwith the auth details of the Tines Webhook. We can easily choose what datapoints we want to pass from Sublime to Tines as well.
Tines Steps (Basic Auth)
Reference: https://www.tines.com/docs/actions/types/webhook/
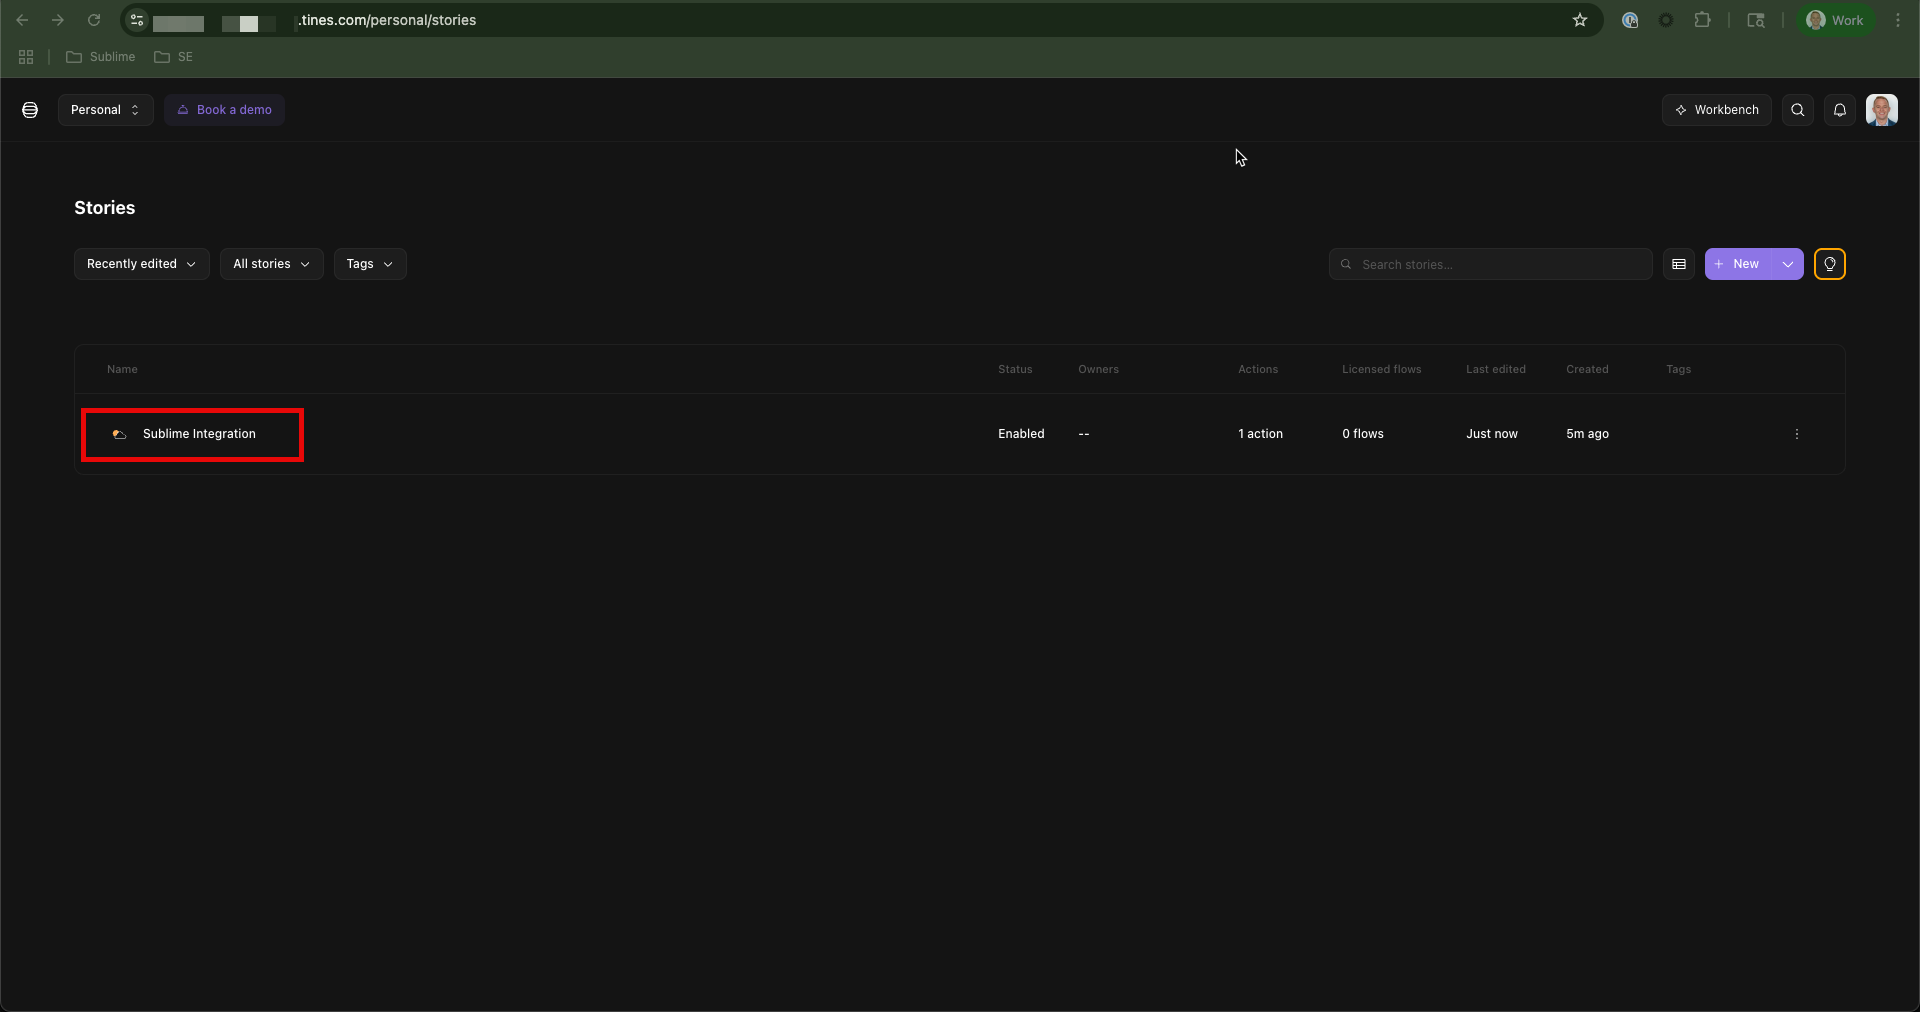
- Navigate to the Tines console and open up the story you would like to add the Sublime Webhook action to
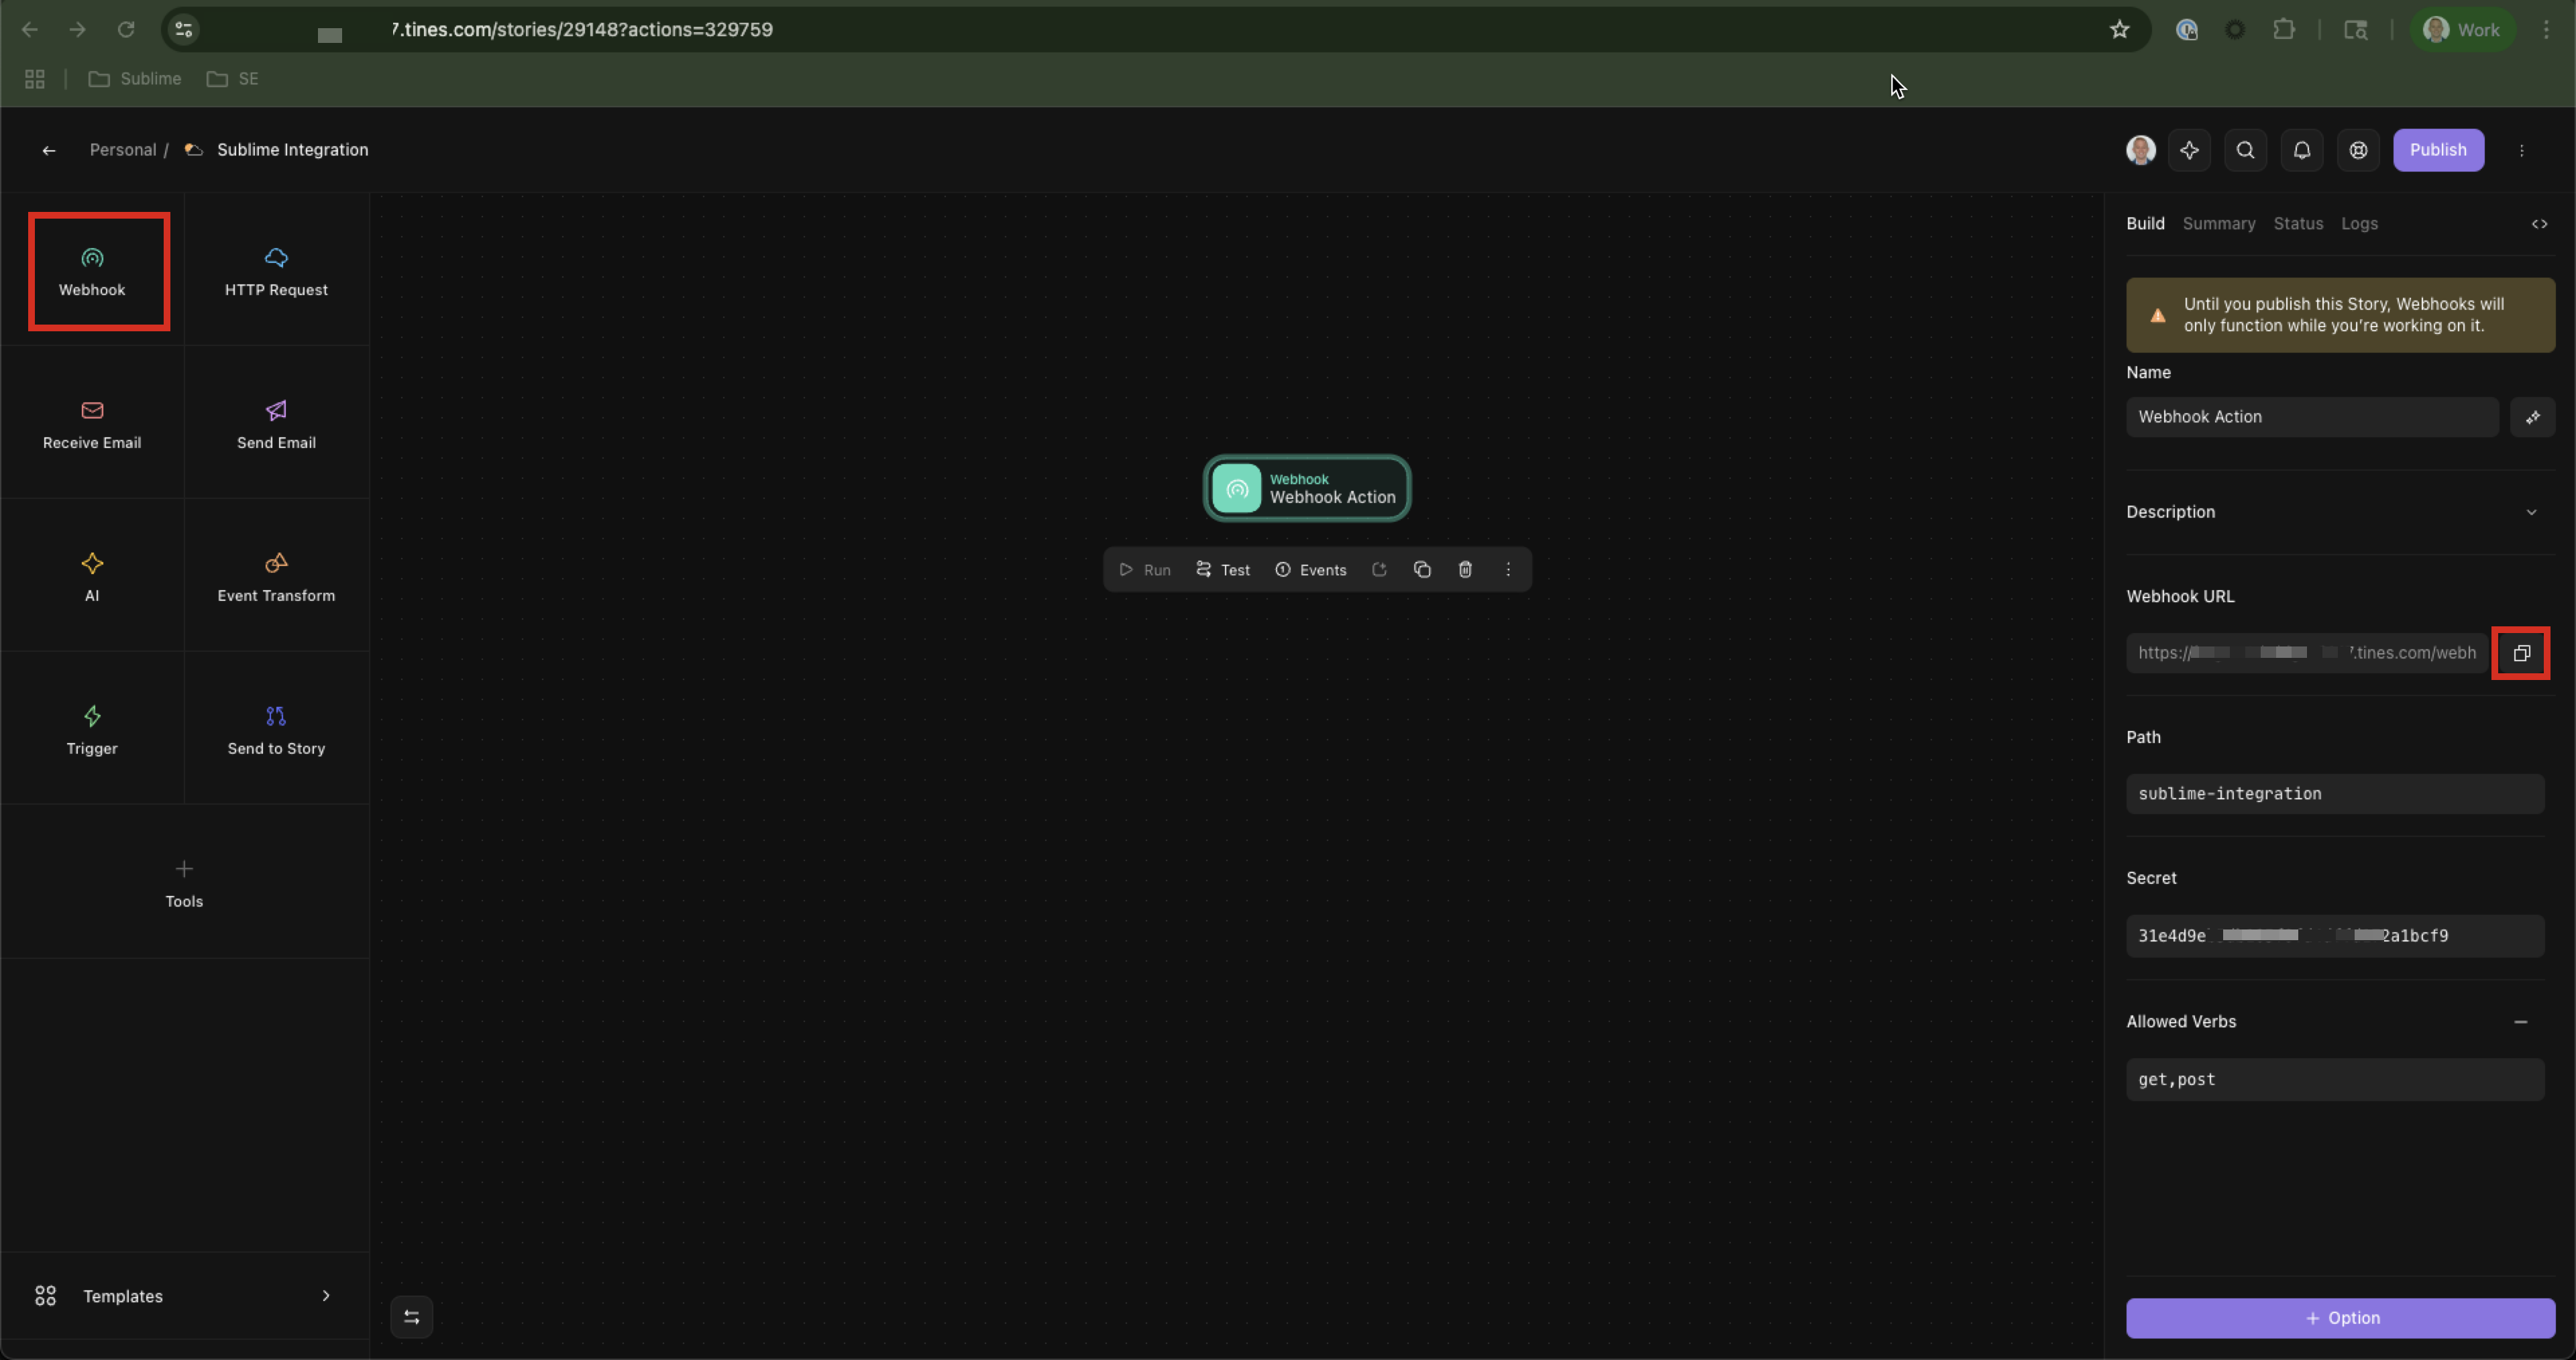
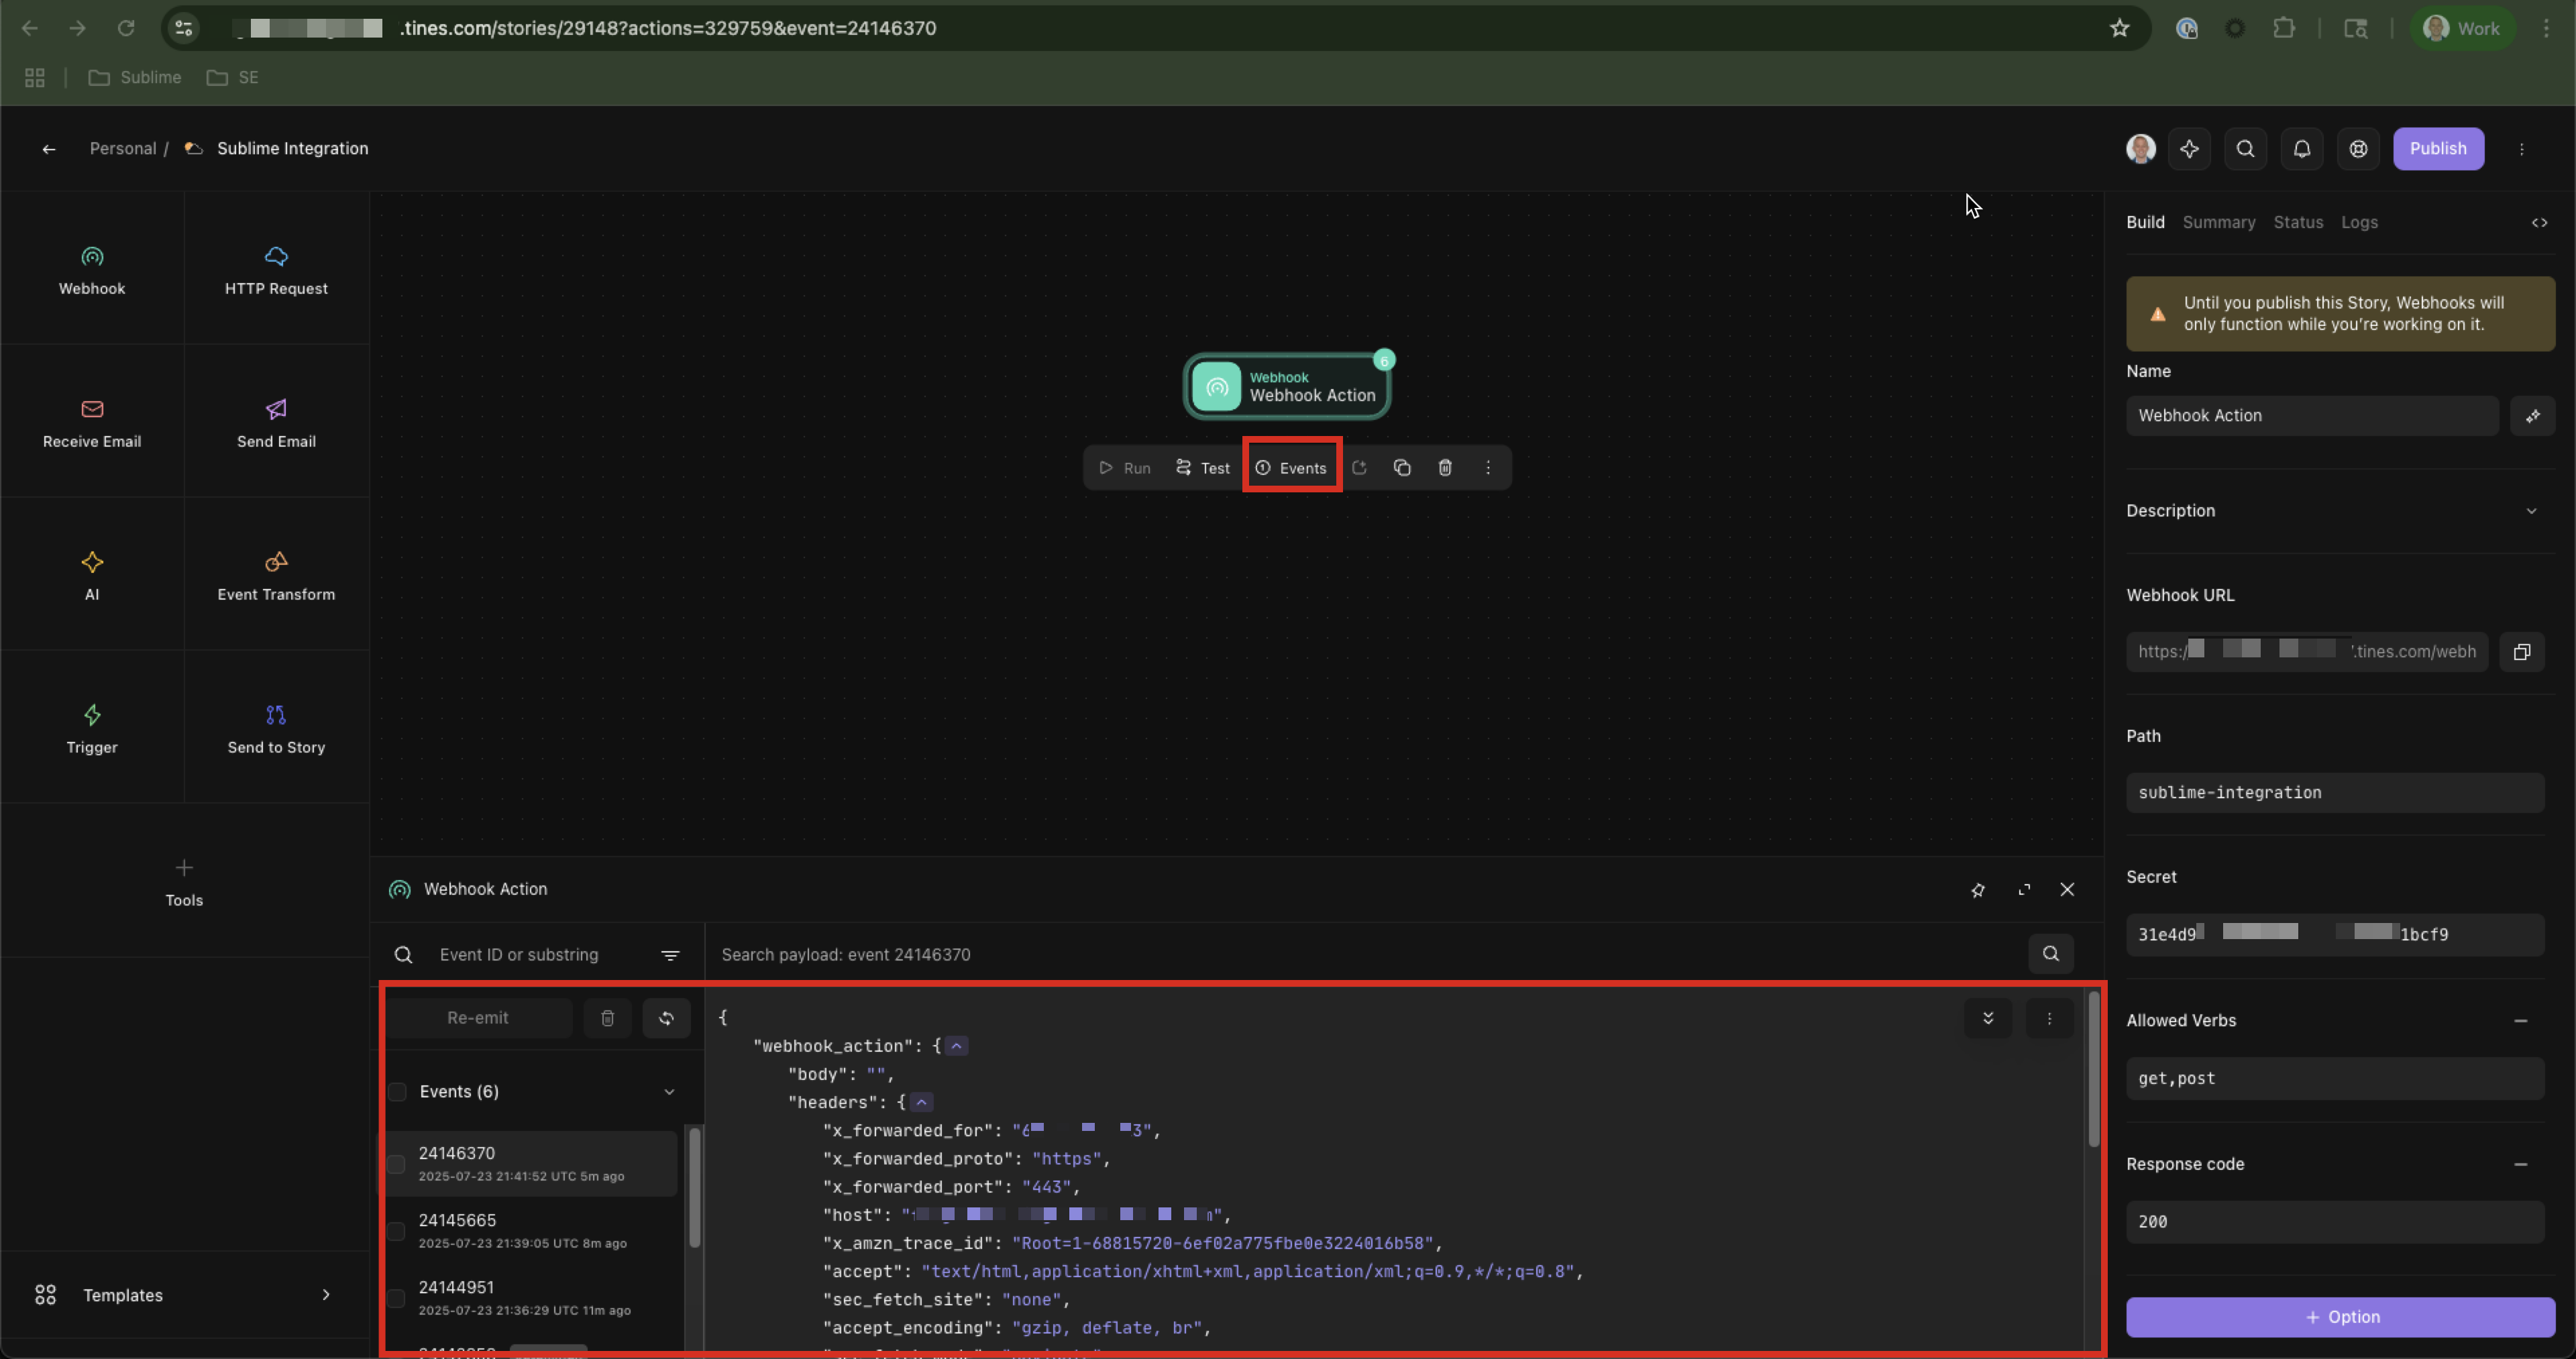
- Drag the
Webhookicon on the left onto the canvas, then copy theWebhook URLfrom the panel on the right
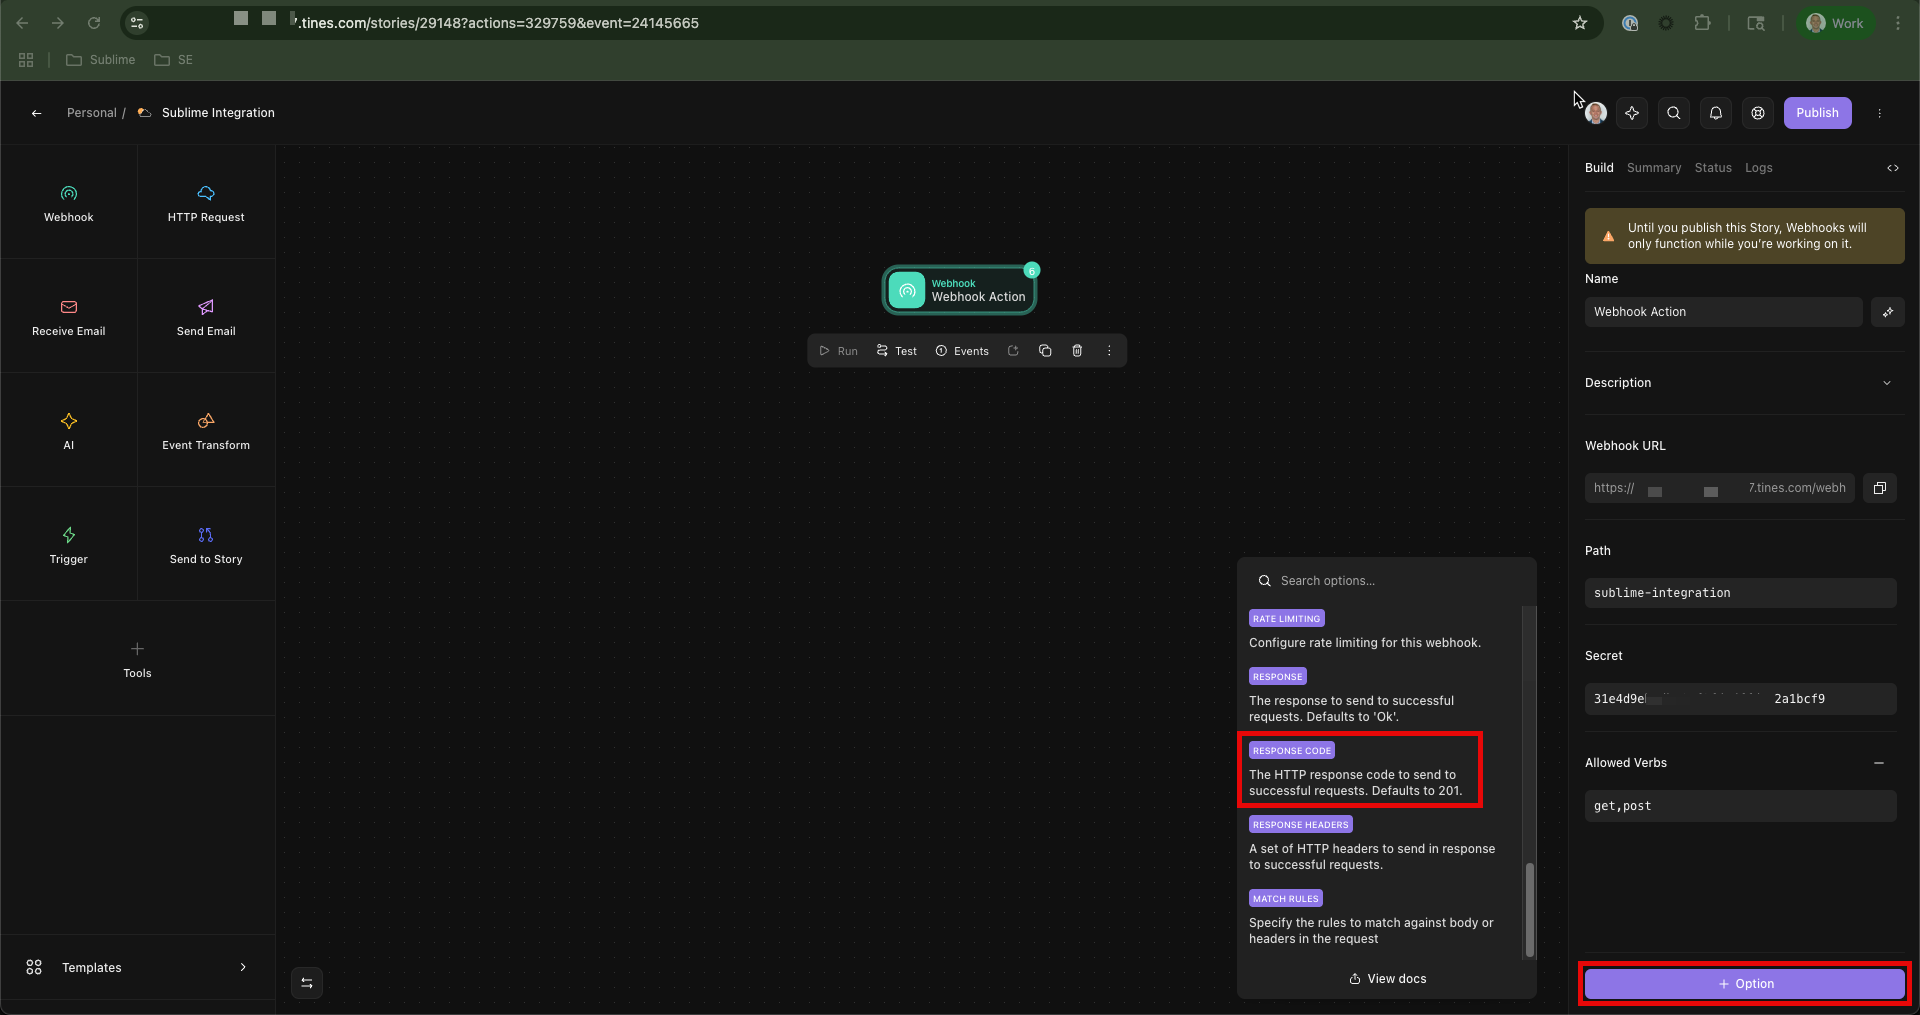
- At the bottom, click
+ Option, then scroll to the bottom of the window and click onResponse Code
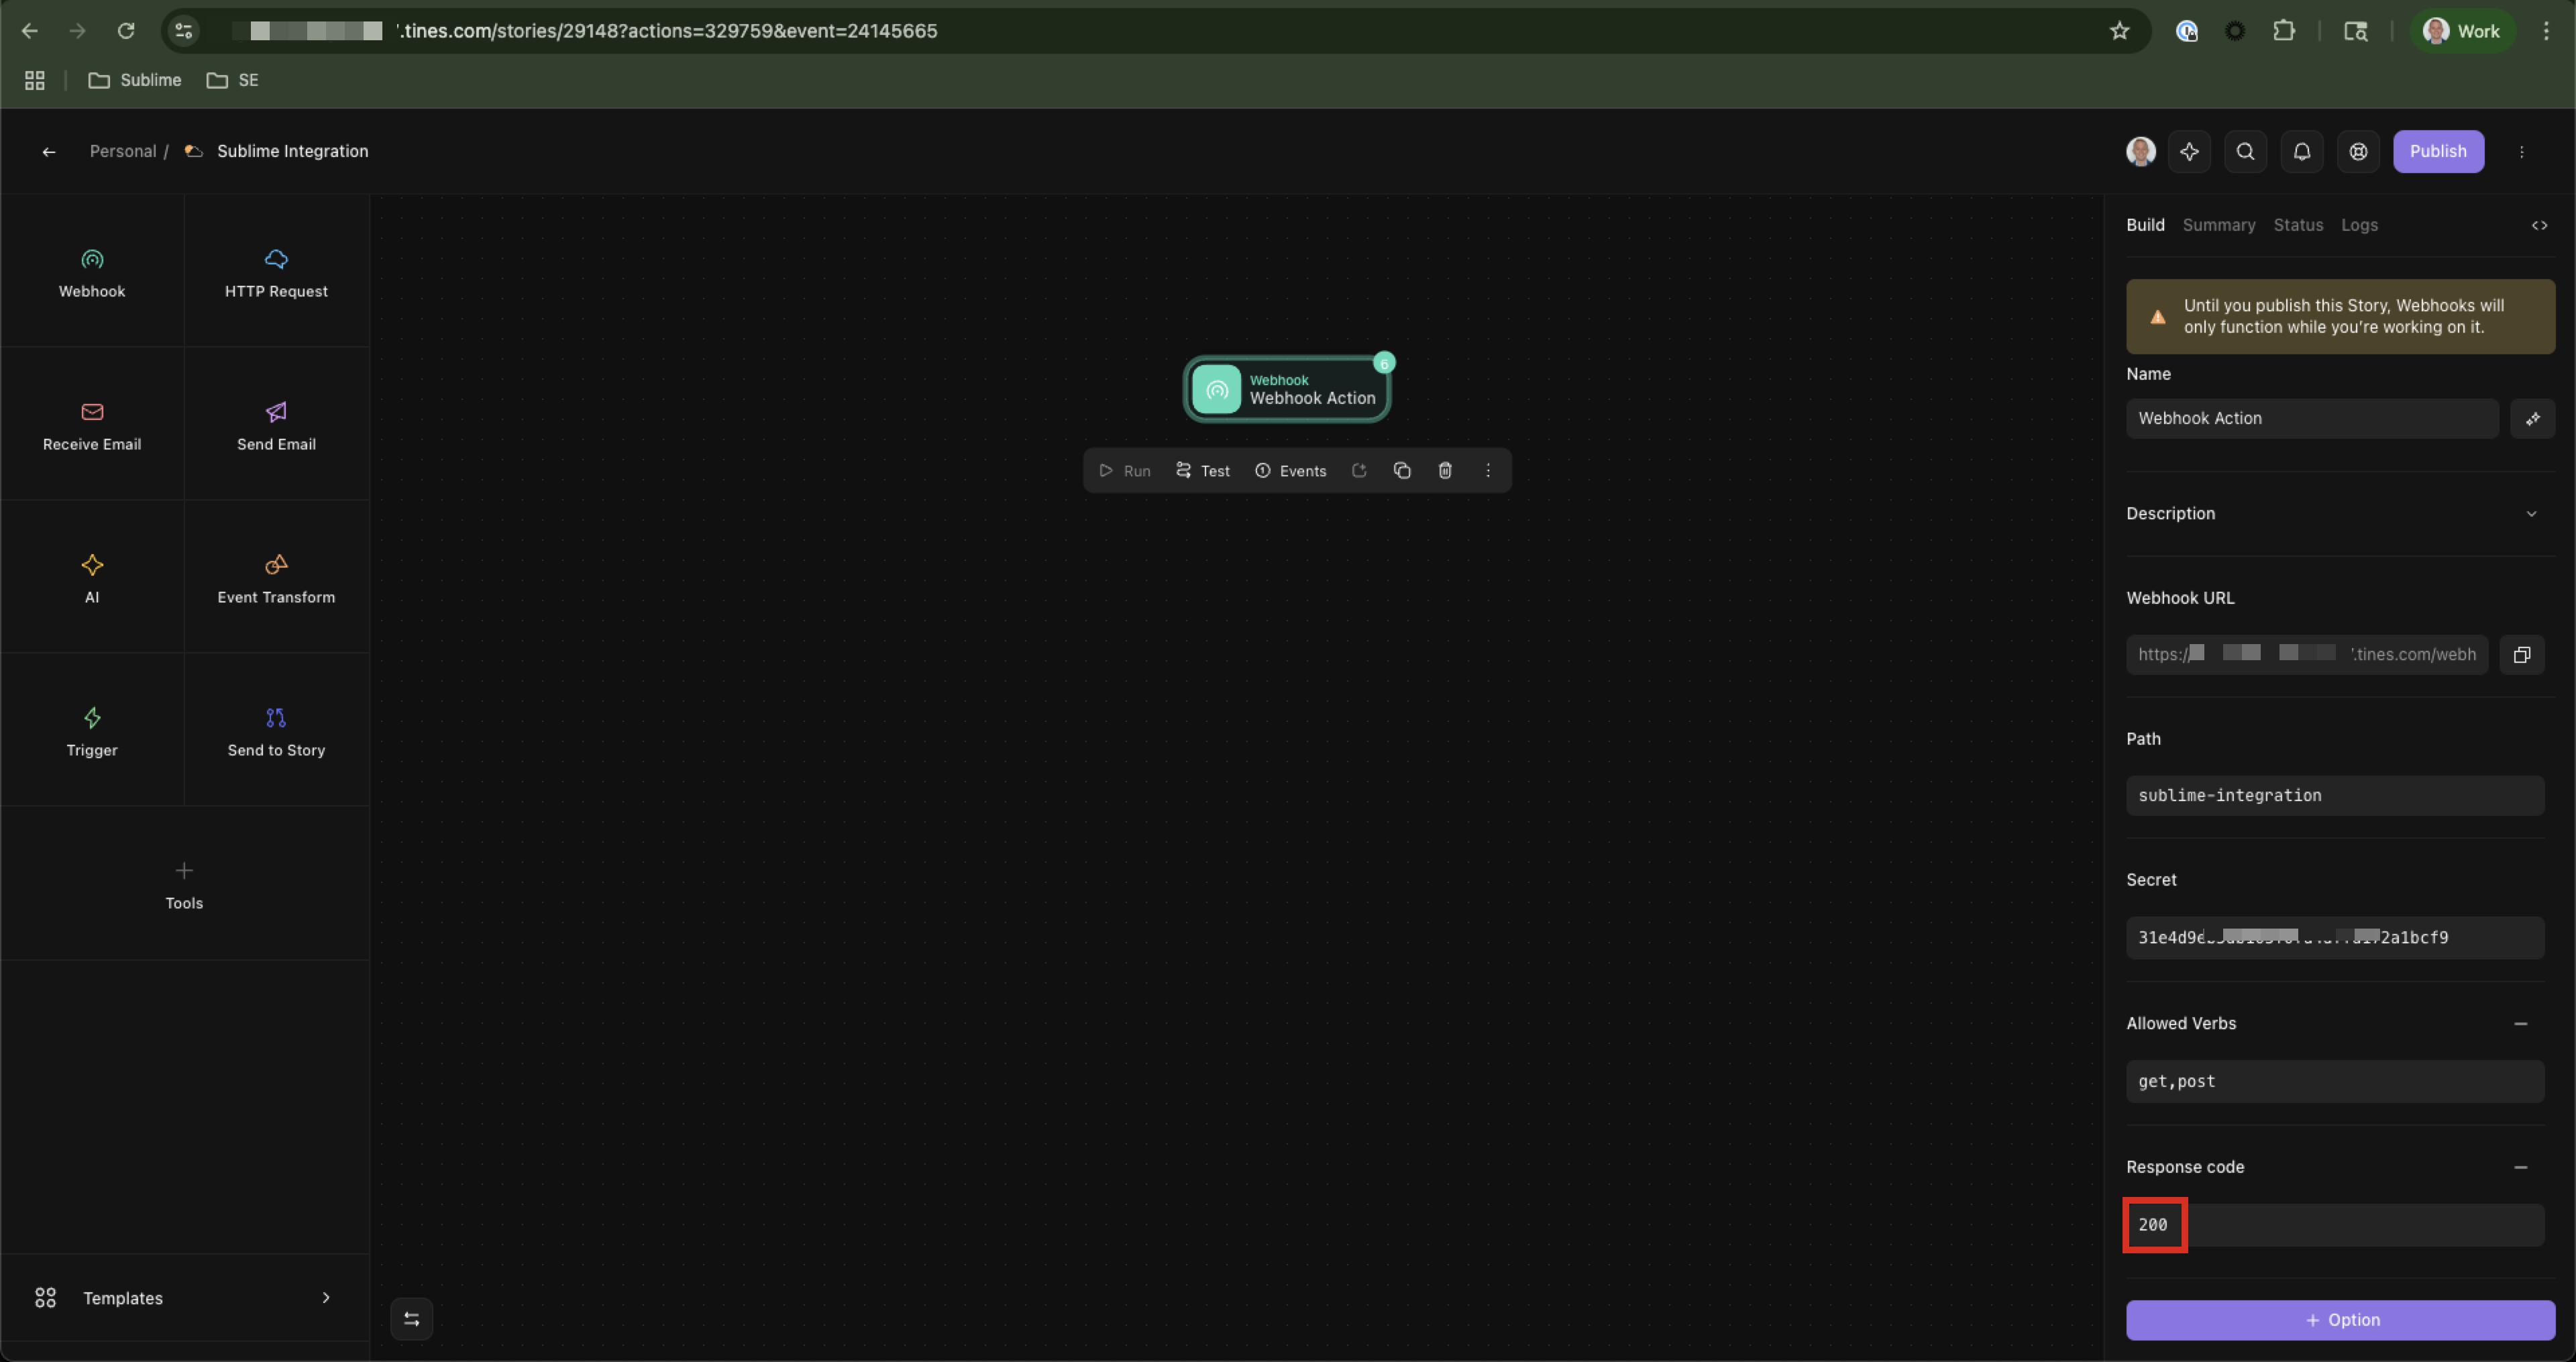
- Change the value from 201 to
200
- If you want to test, Open the
Eventspage which will show requests from Sublime once we setup the webhook in Sublime. (it shouldn’t have any yet)
Sublime Steps
Reference: https://docs.sublime.security/v2/docs/webhooks
-
Navigate to the Sublime console, and scroll down to
Actions. ClickNew Actionand thenWebhook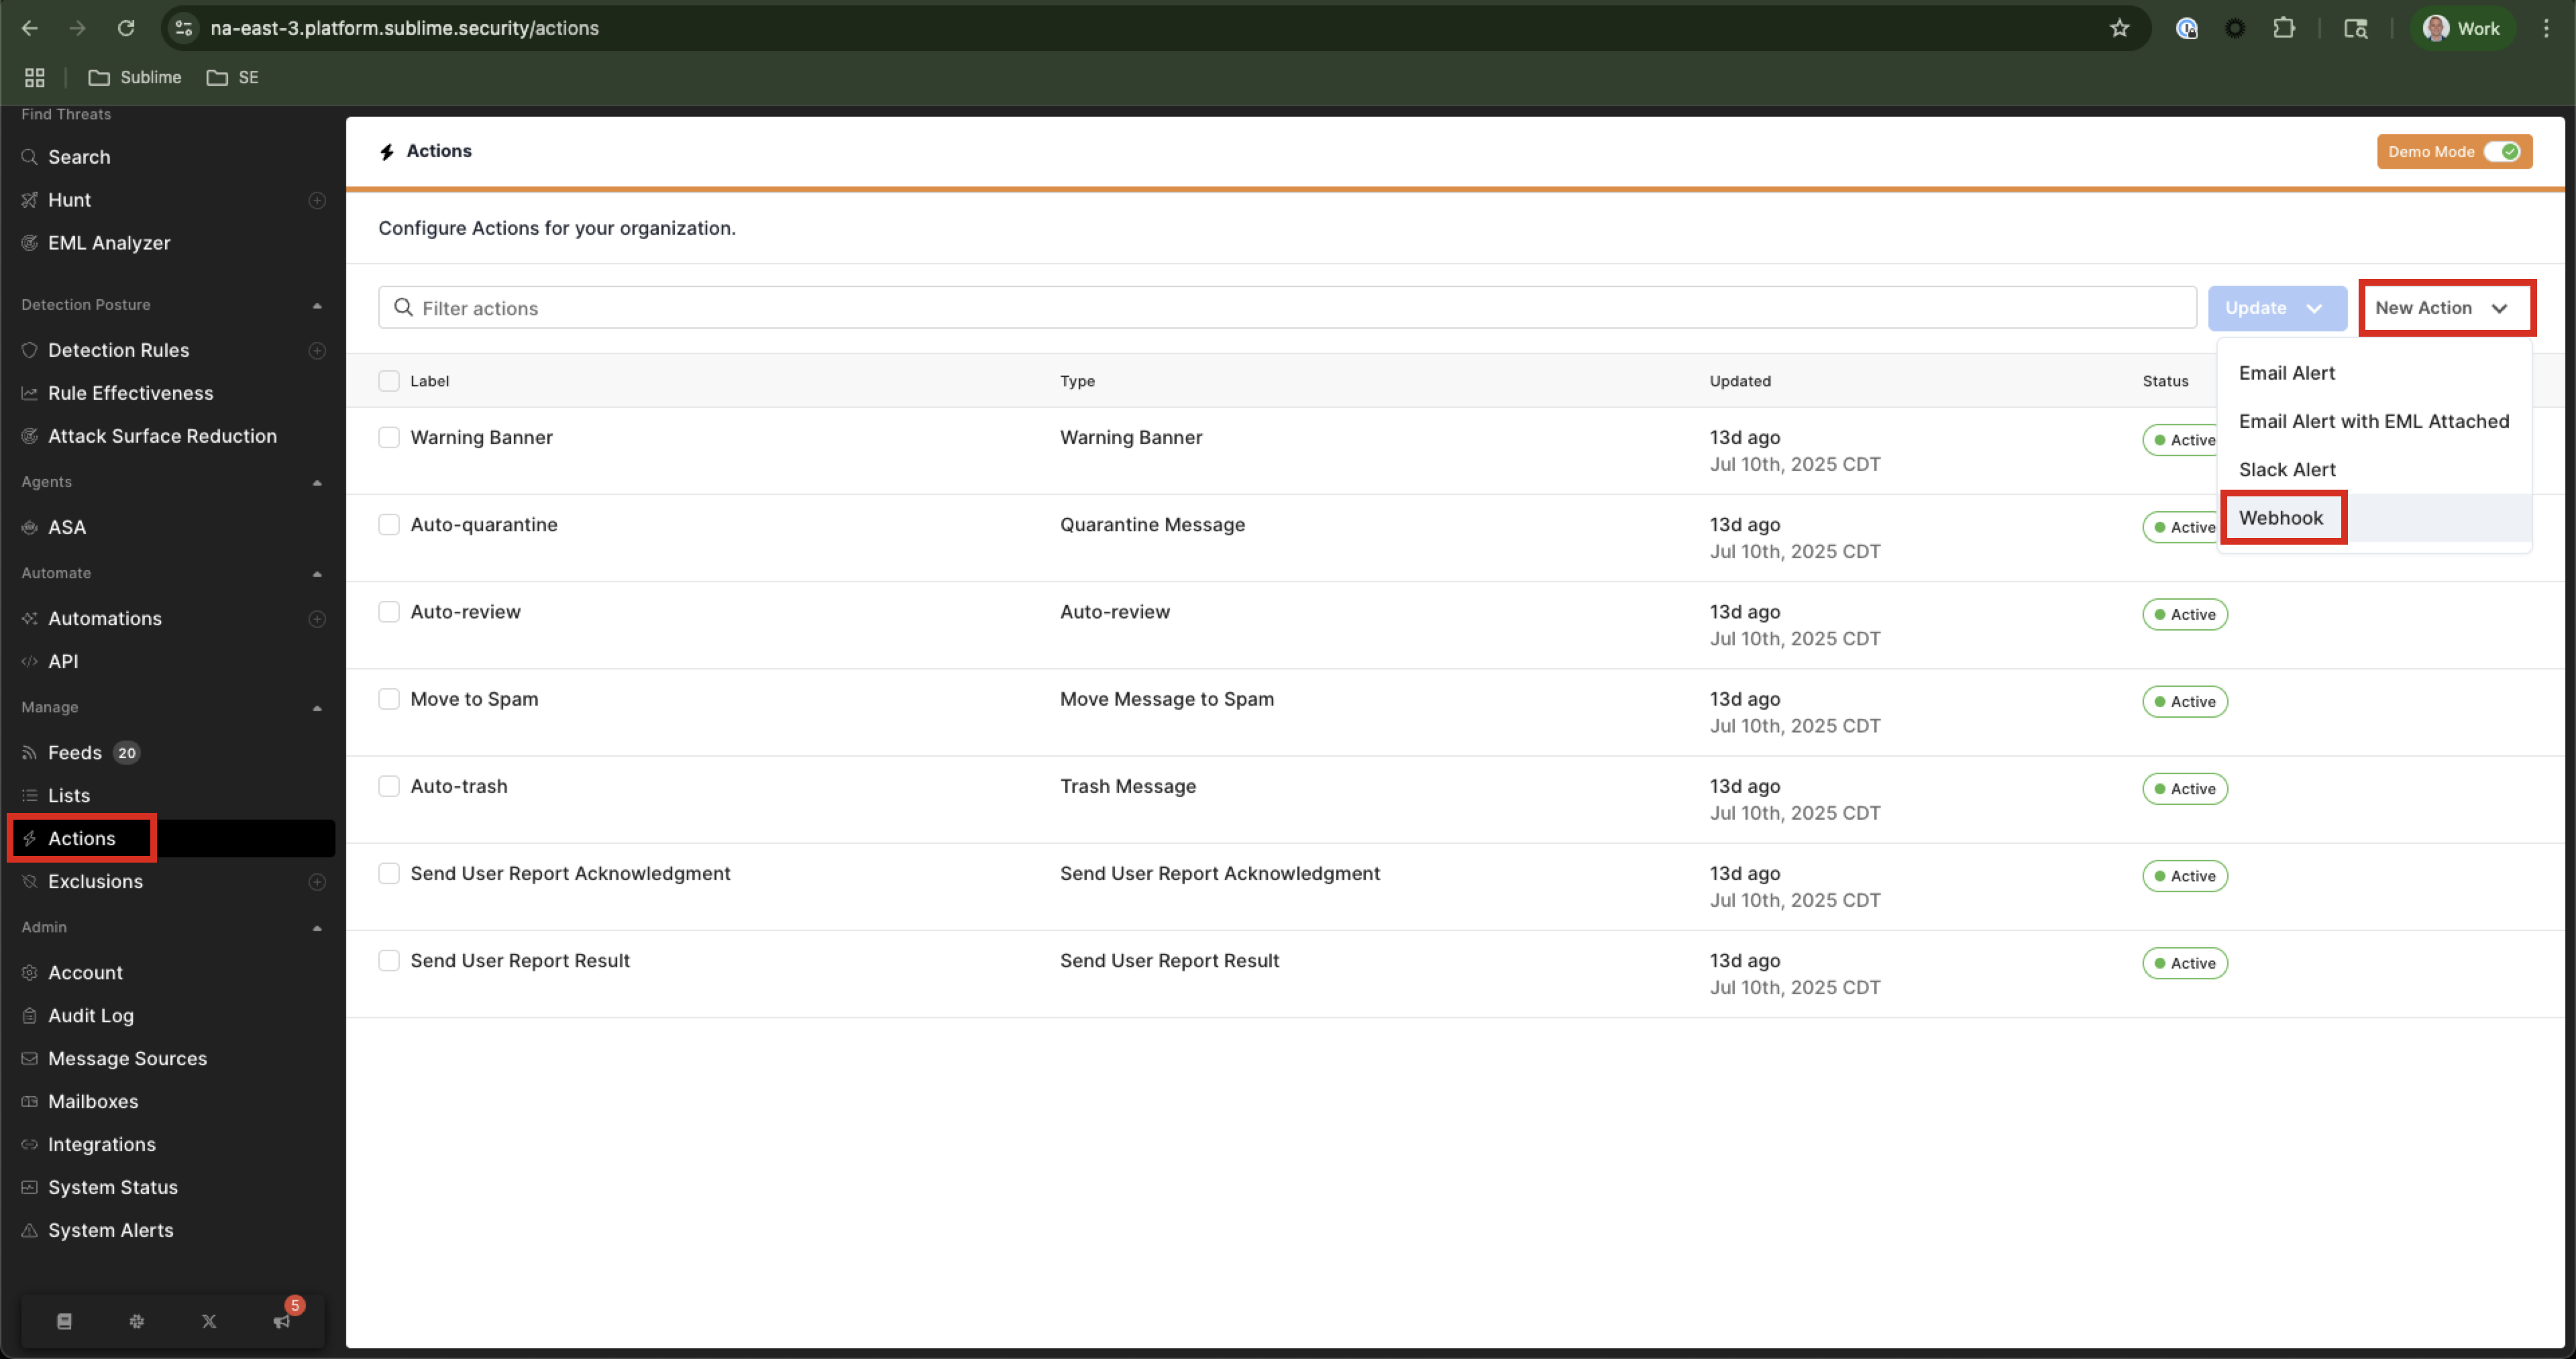
-
Enter a name such as
Tines Integration, paste the webhook URL from the Tines setup step 2 above intoEndpoint URL, click the carrot next to Customize Payload, and select any/all items desired, thenSave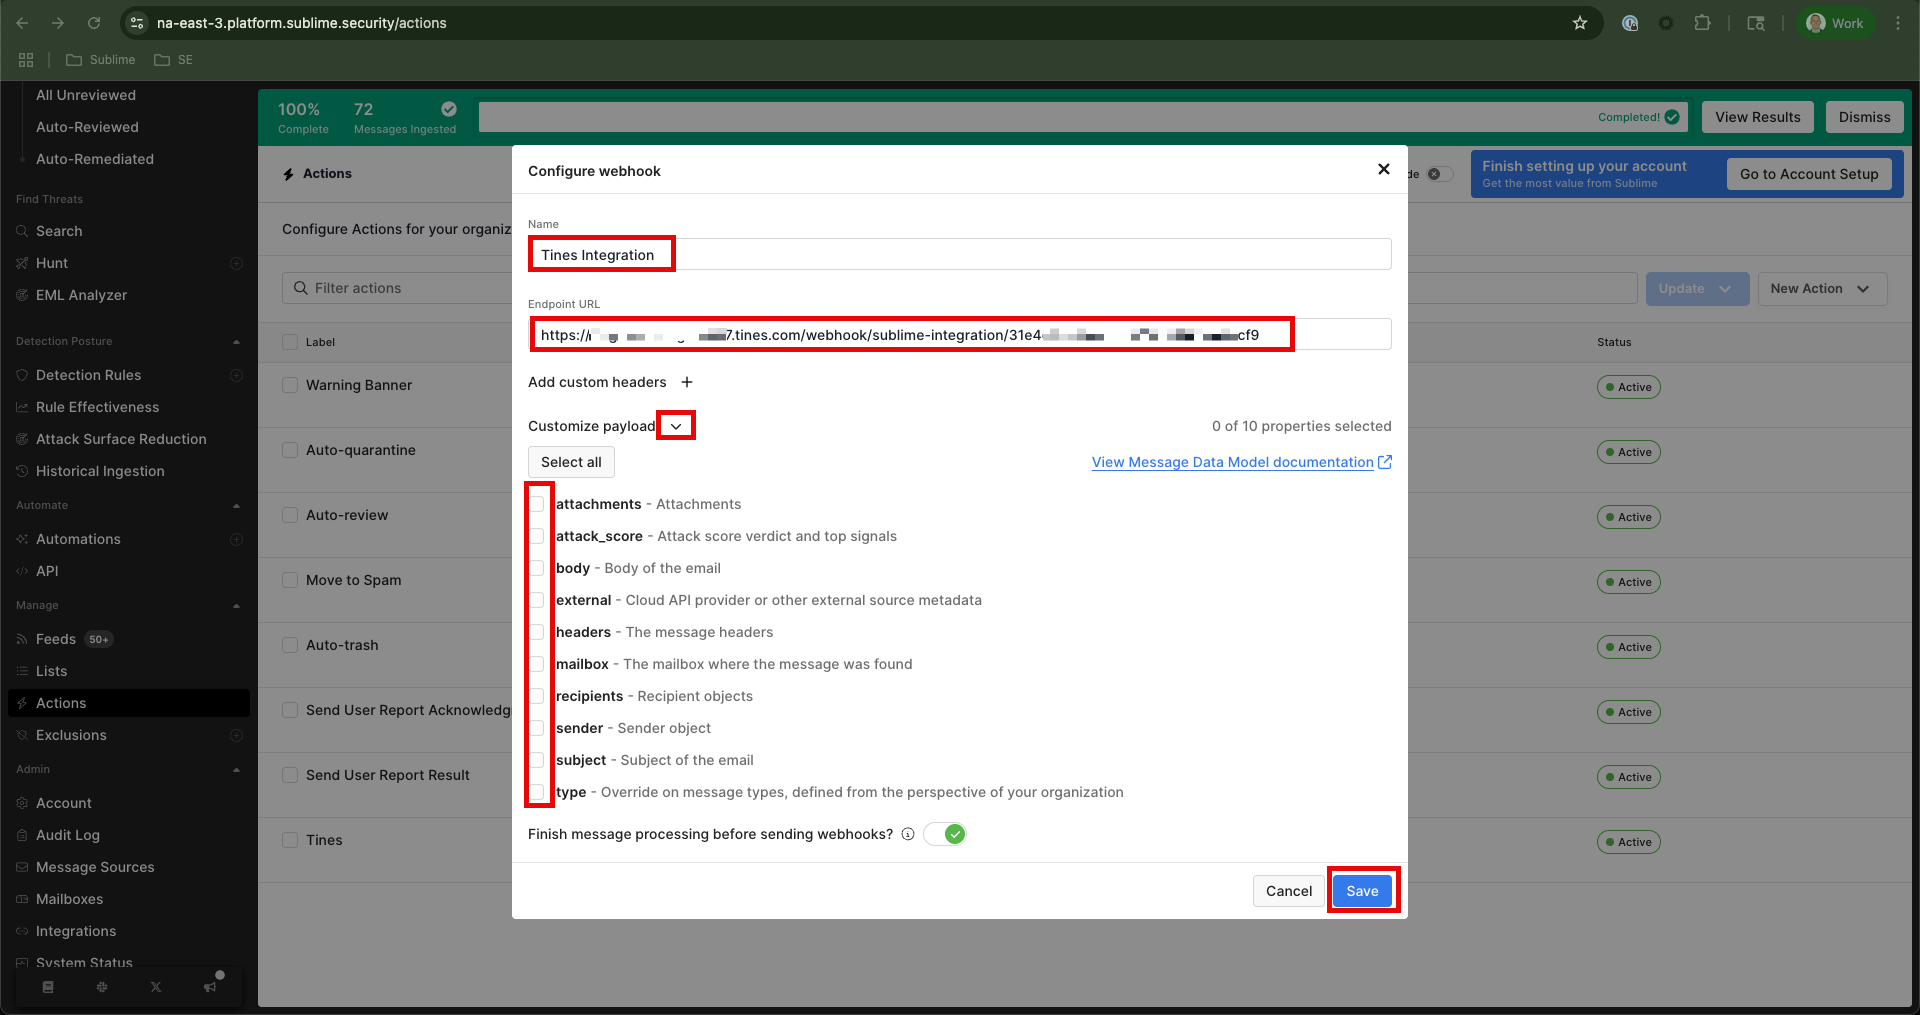
-
Finally, decide from which Rules or Automations to trigger your webhook. Your new webhook will show up as an "Alert" to be configured on Rules and Automations.
Testing (optional)
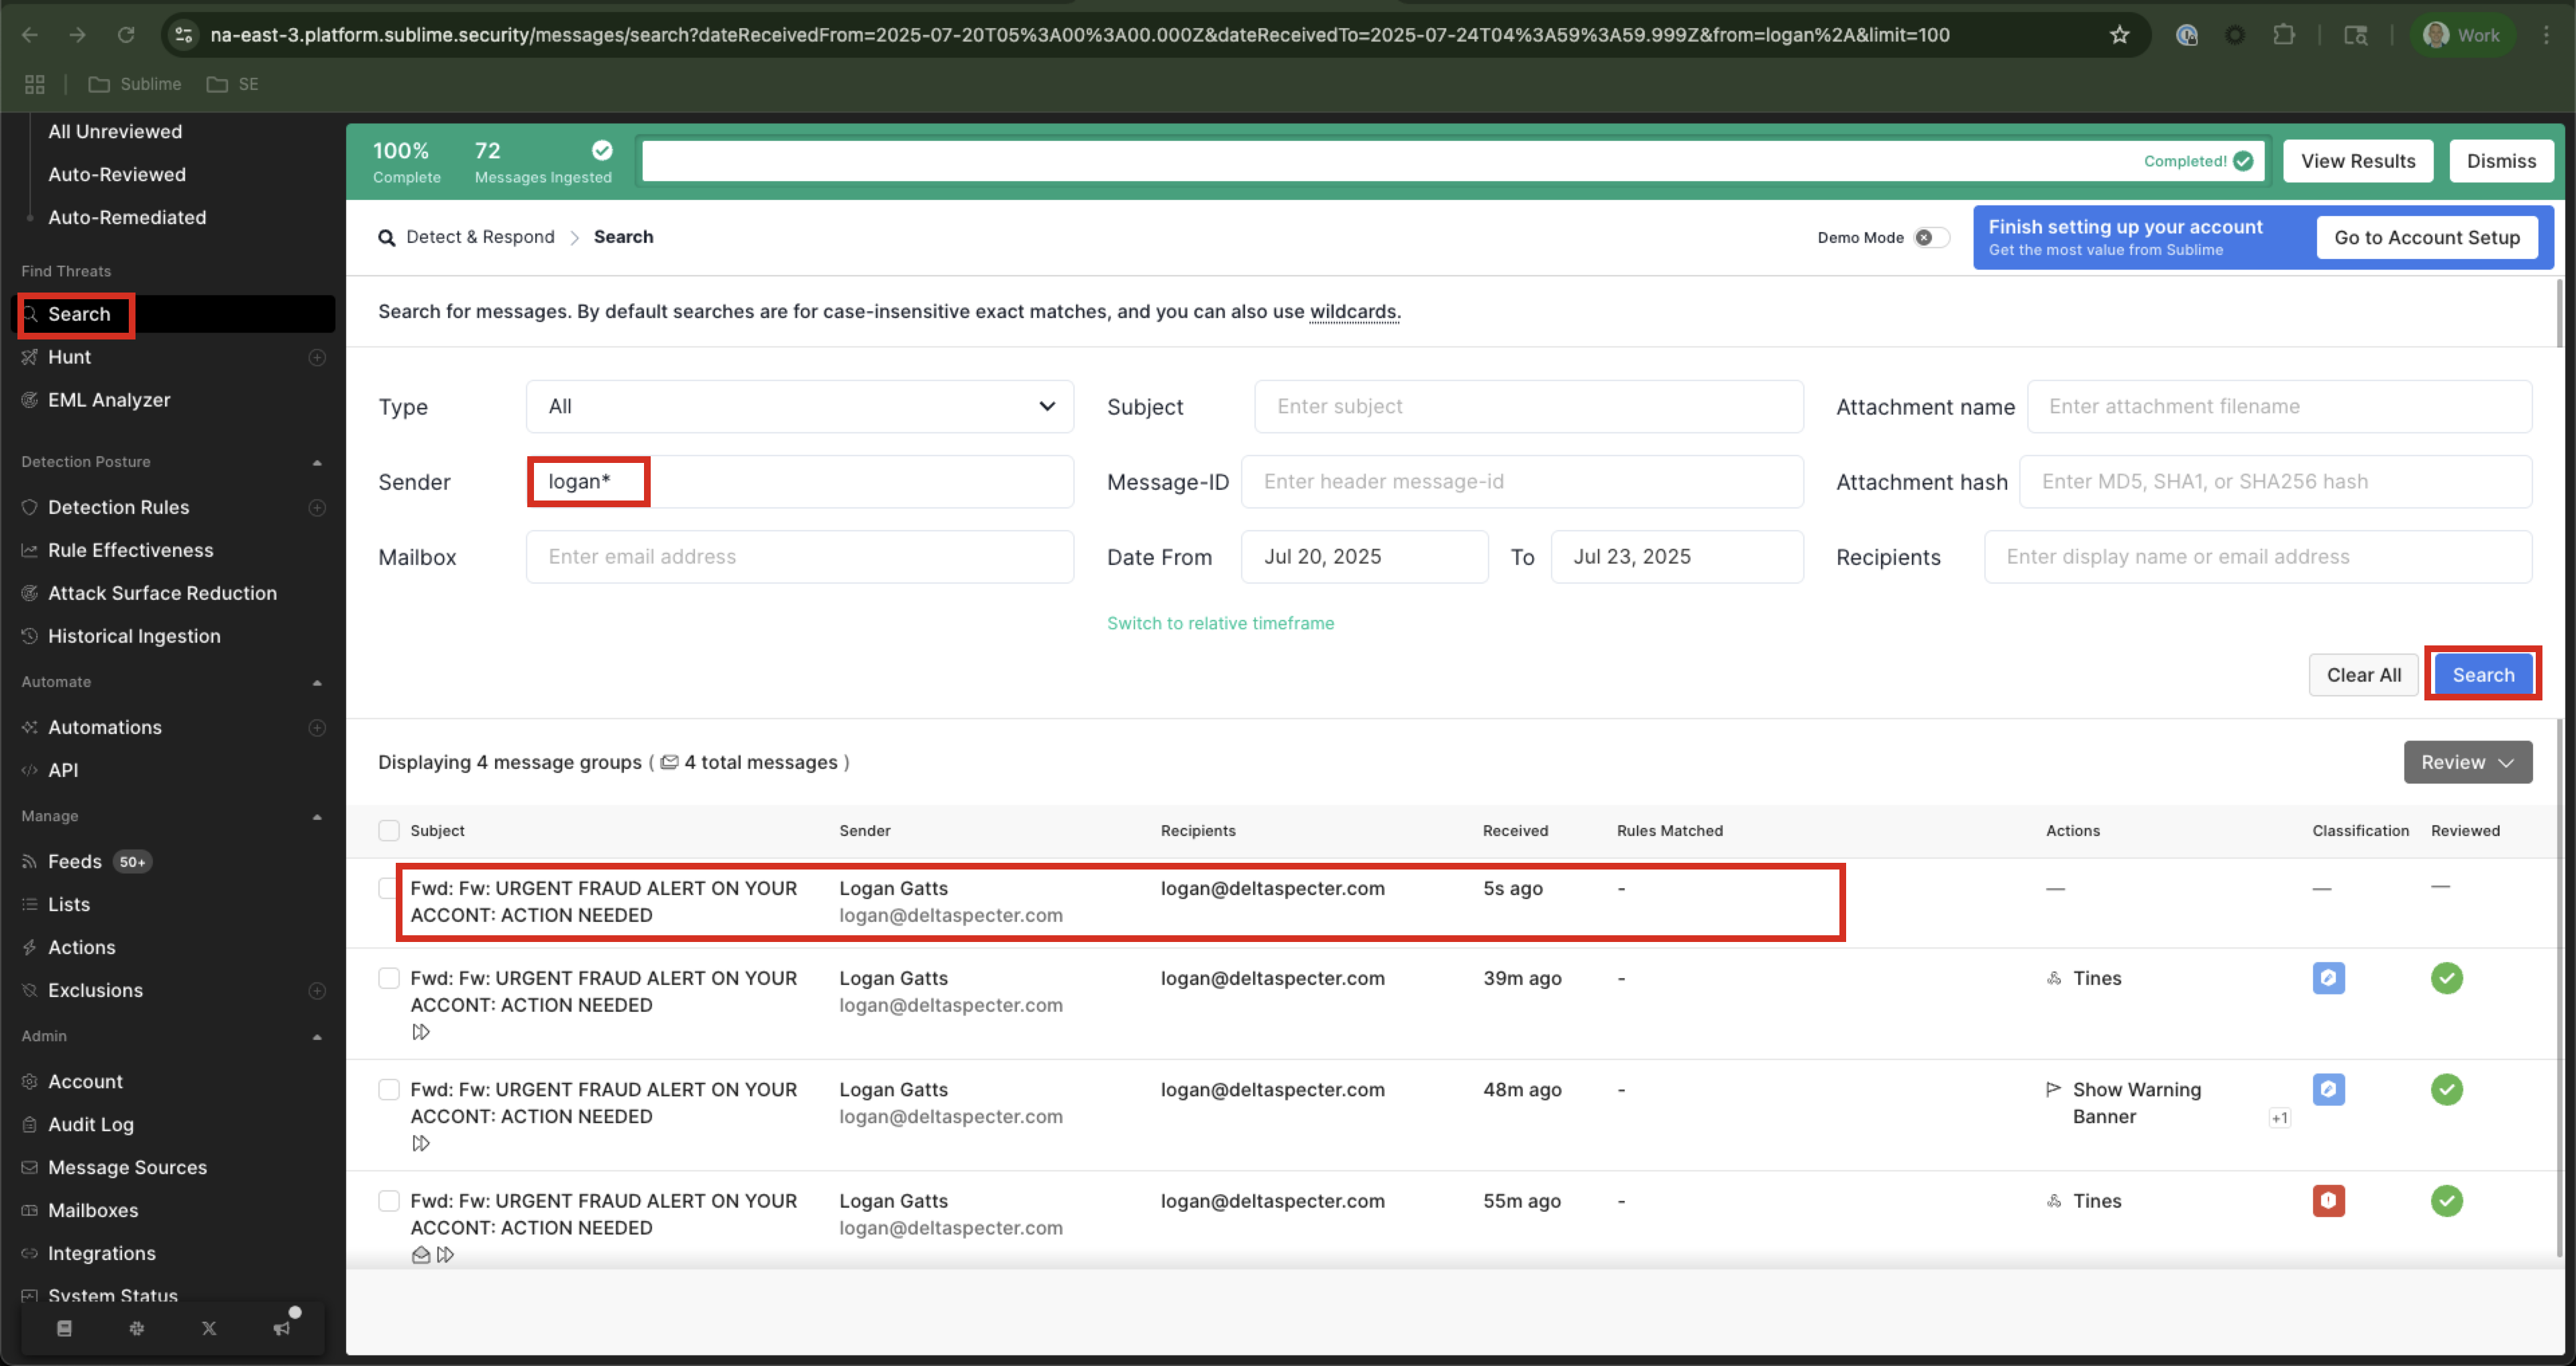
- In Sublime, navigate to
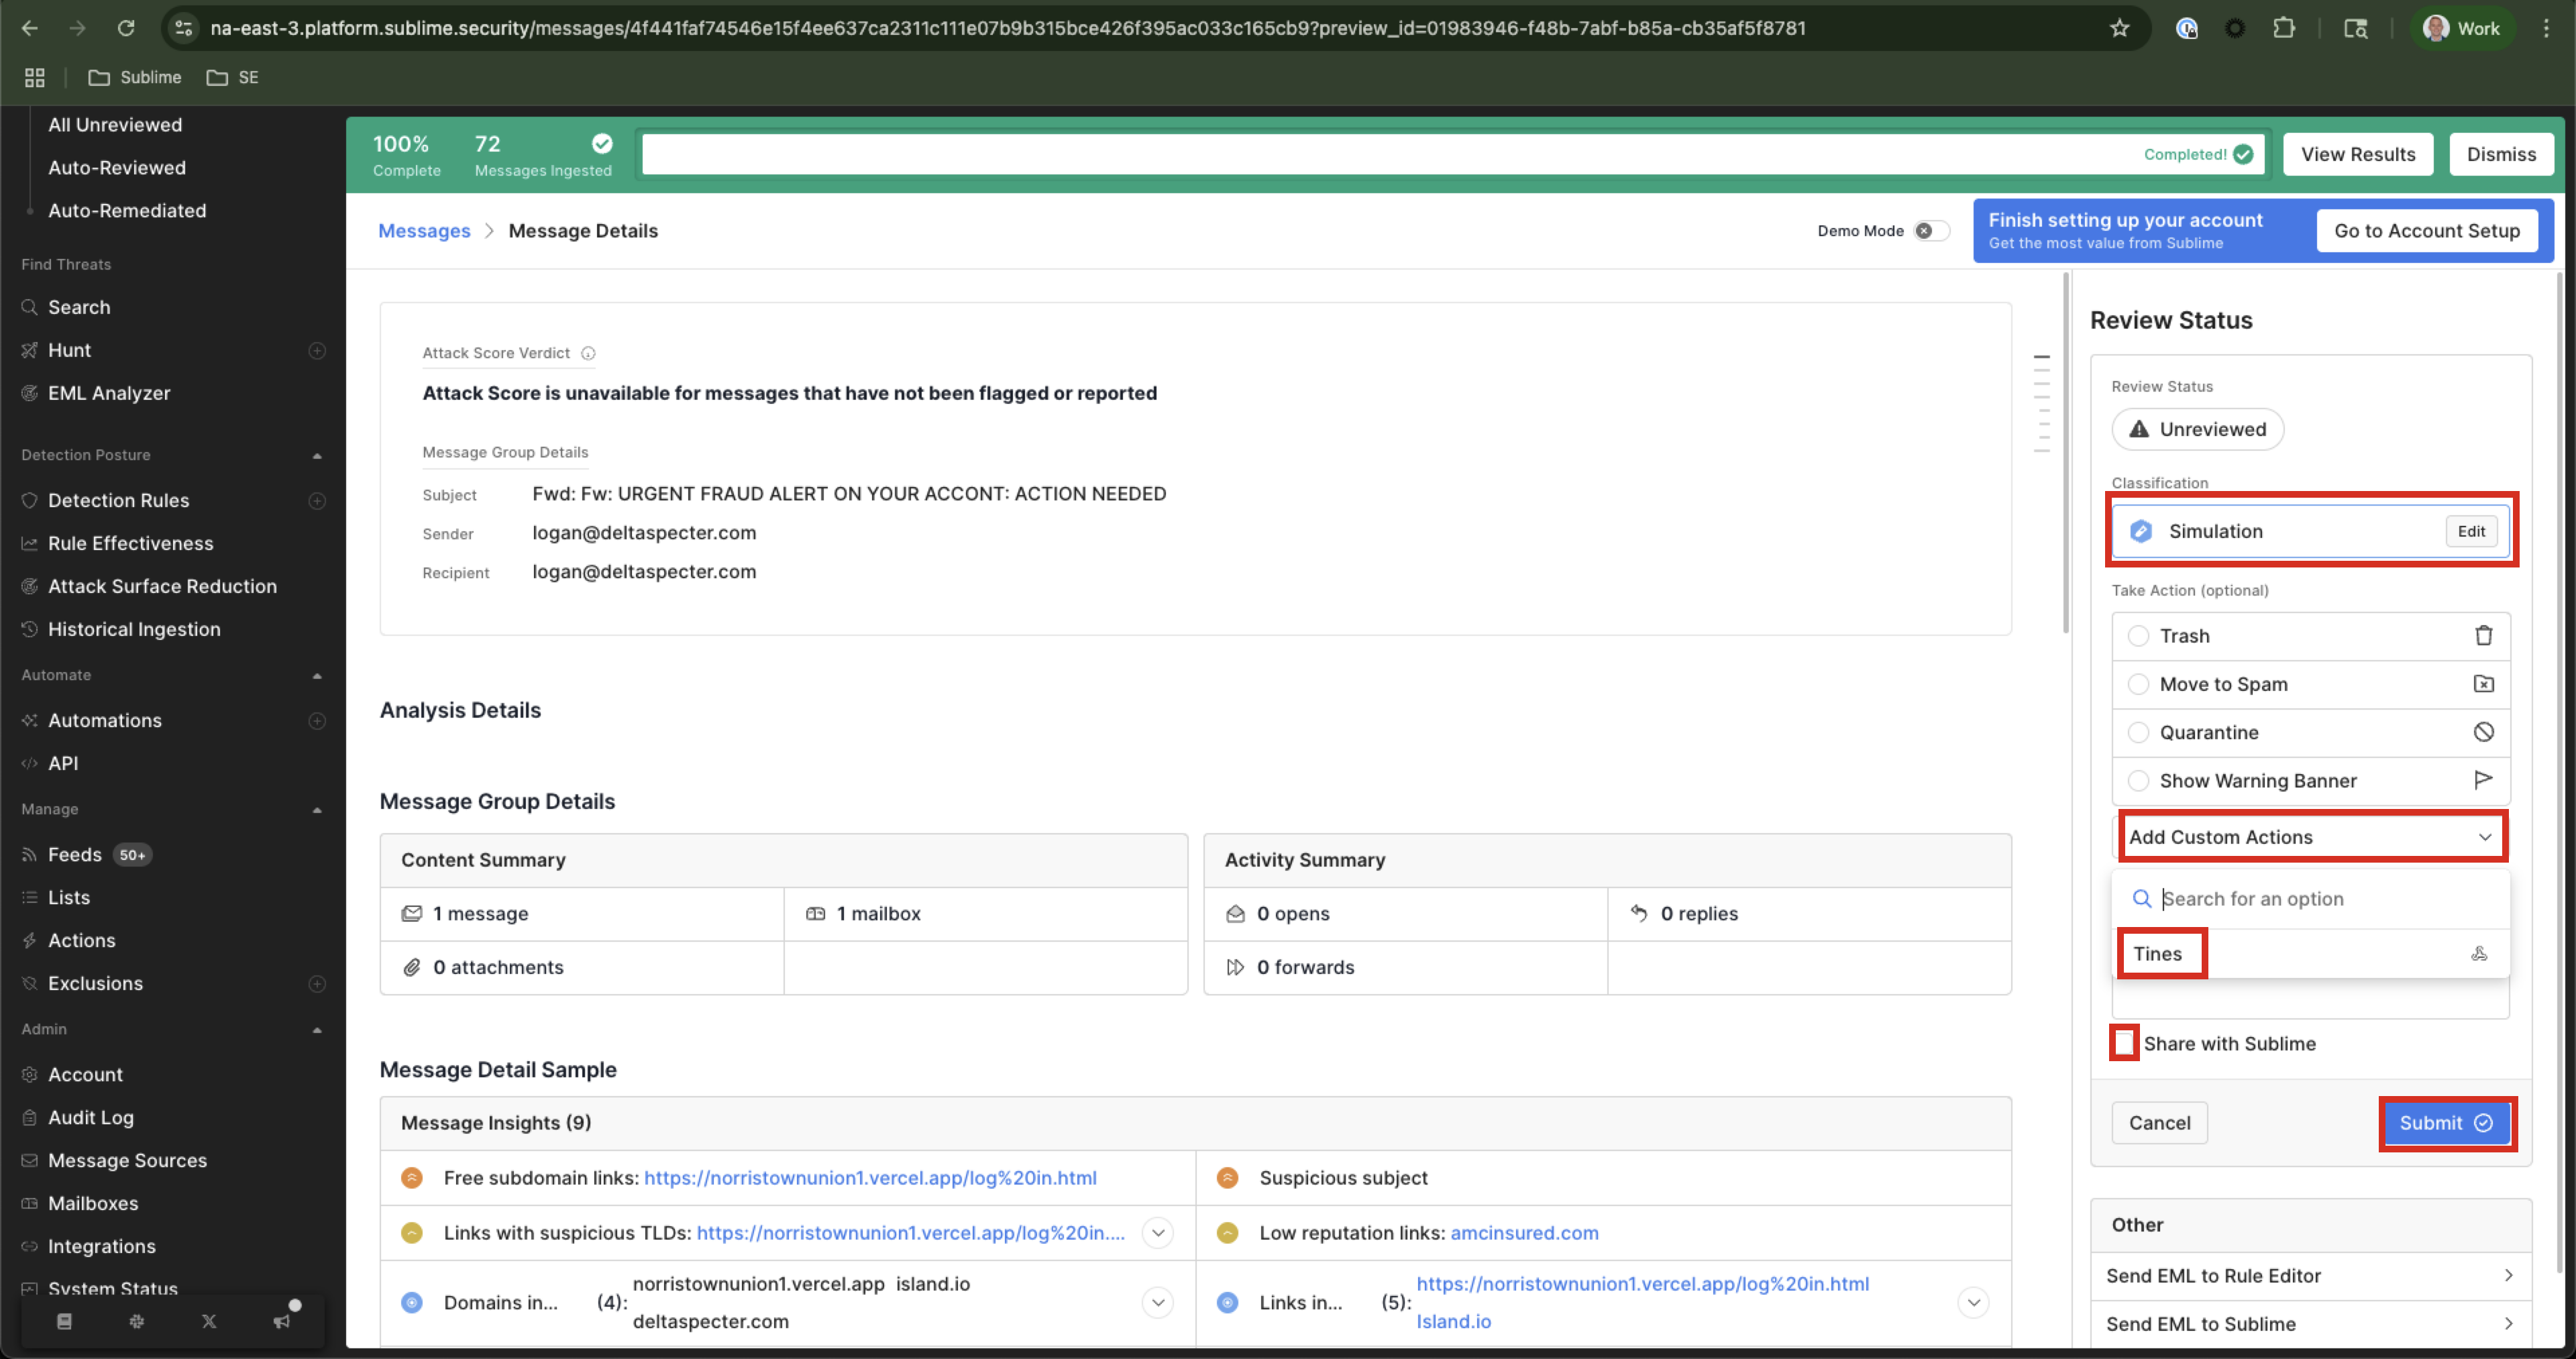
Search, then search for an email that is not important/can be used for simulation/testing. Click and open that email
- On the right, either edit to change the classification or select
Simulationthen click the dropdown forAdd Custom Actionsand select your tines integration. Uncheck theShare with Sublimebox for this testing, thenSubmit
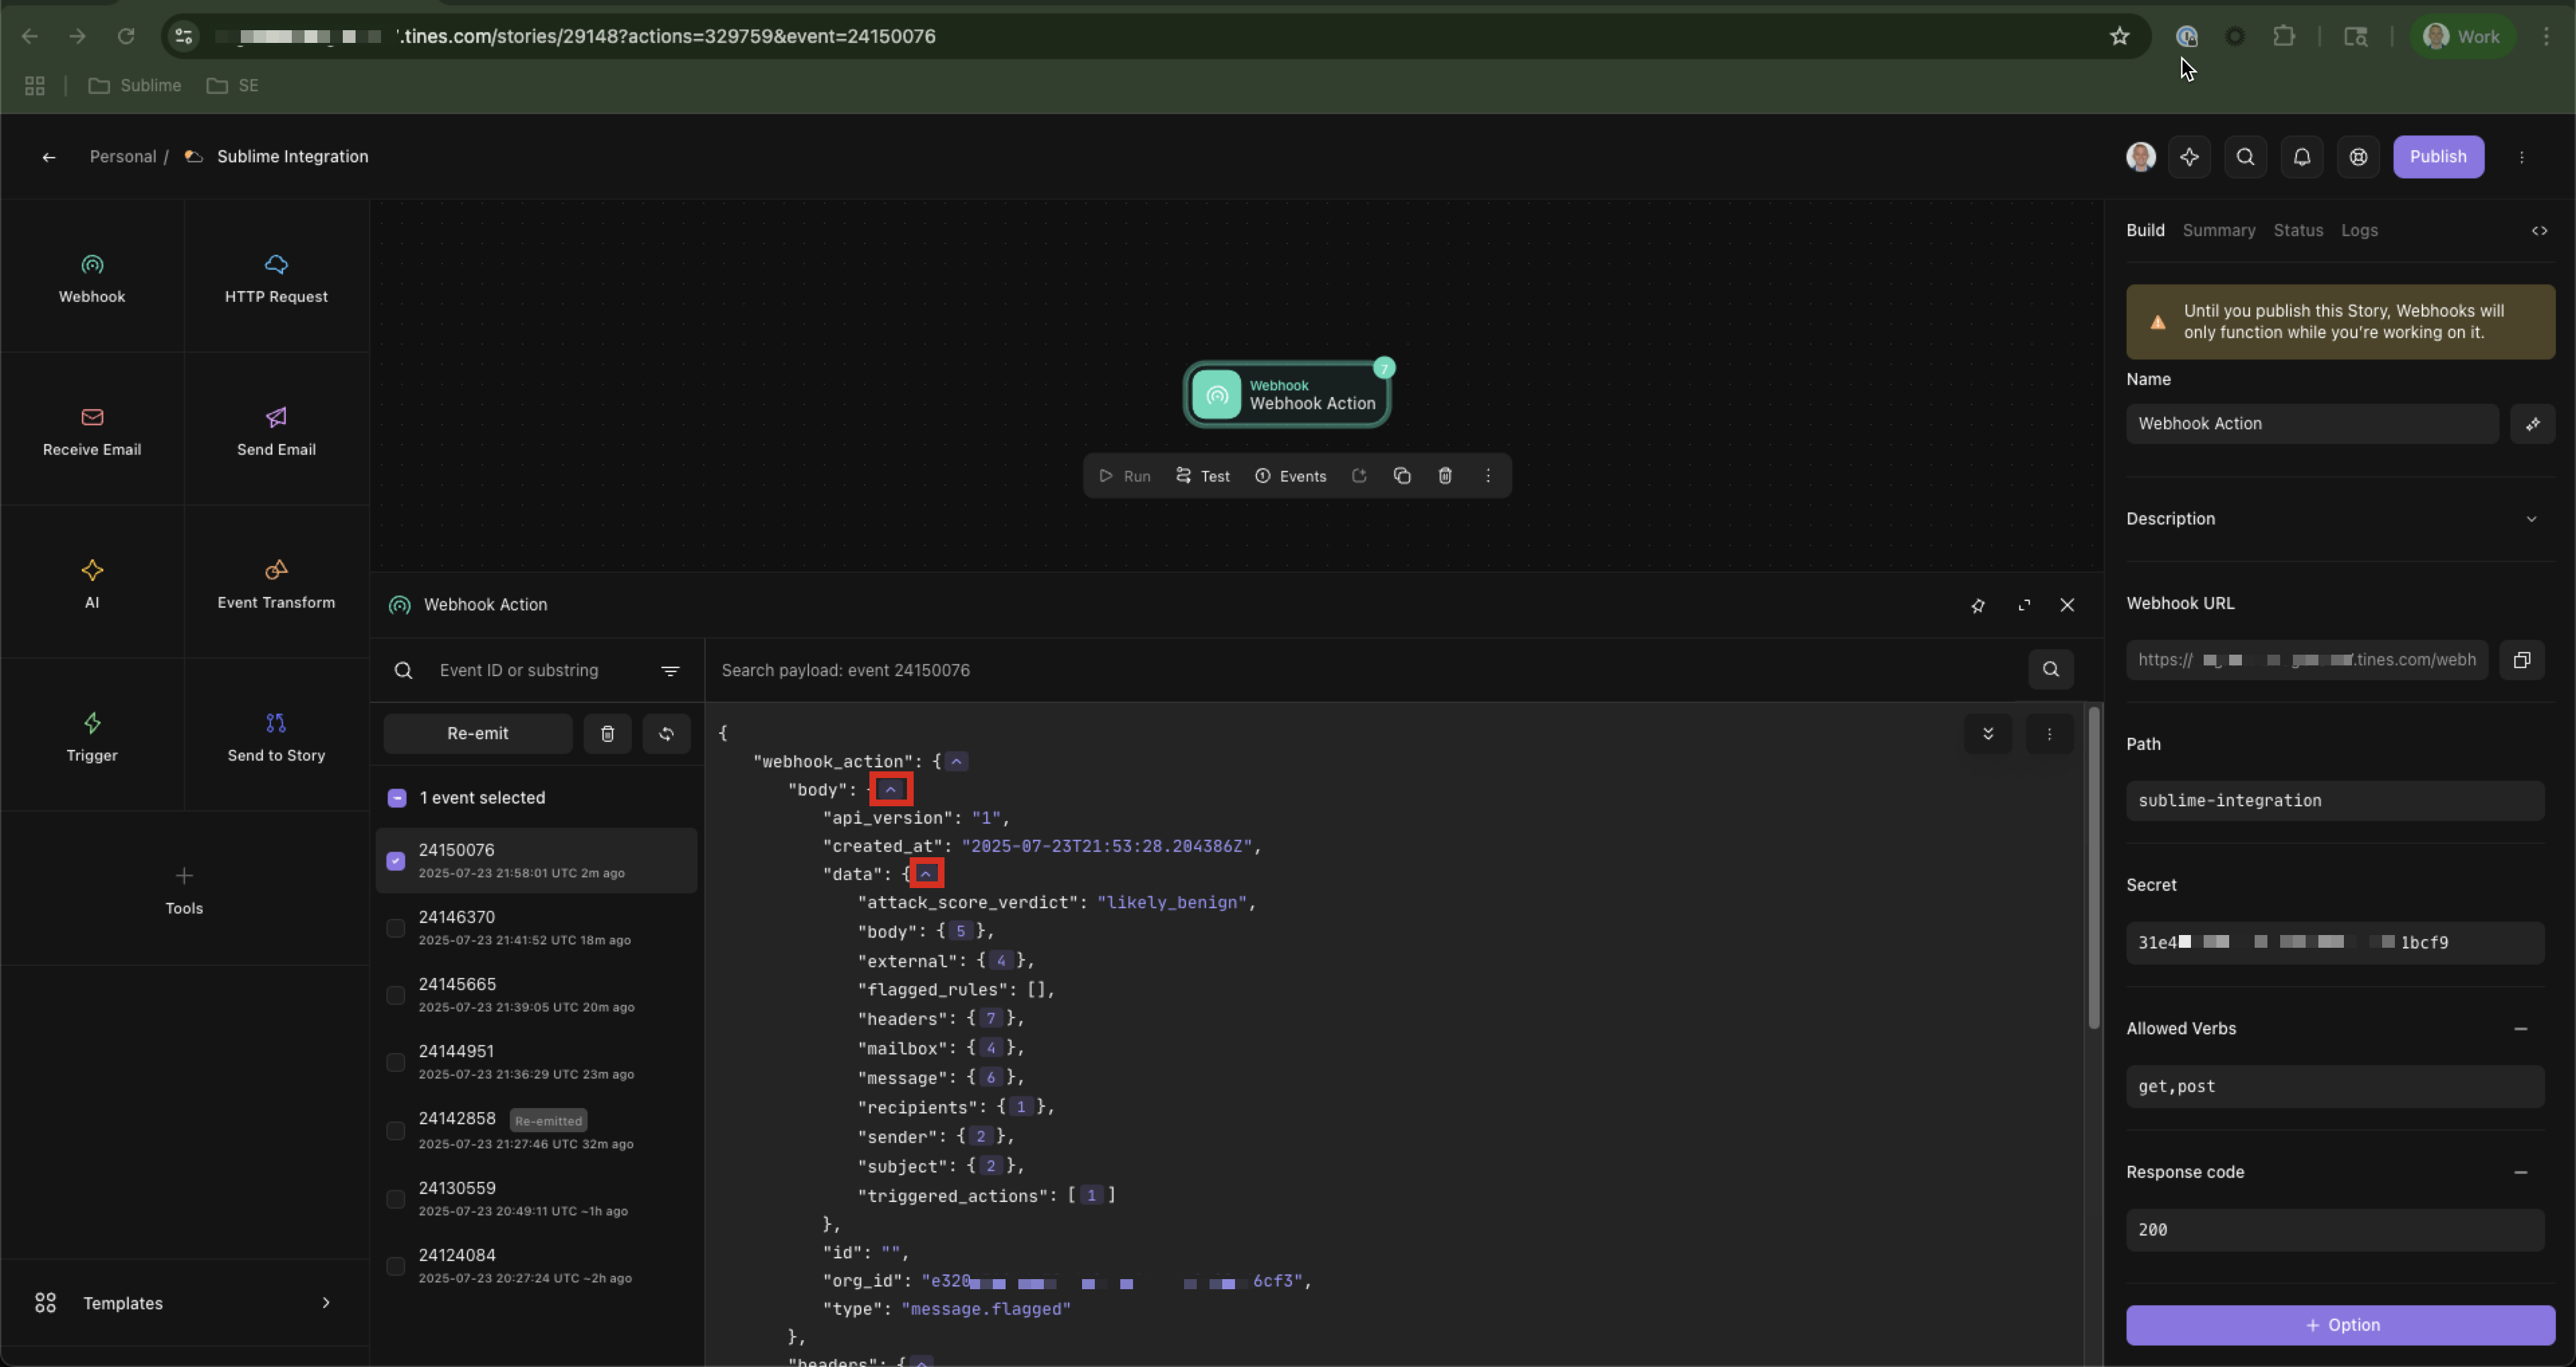
- In the Tines console, you should see an event pop up. To inspect, click on the 6 next to
Body, thendataand you should see all of the items you selected when setting up the webhook in step 2 of Sublime Setup.
Updated 20 days ago